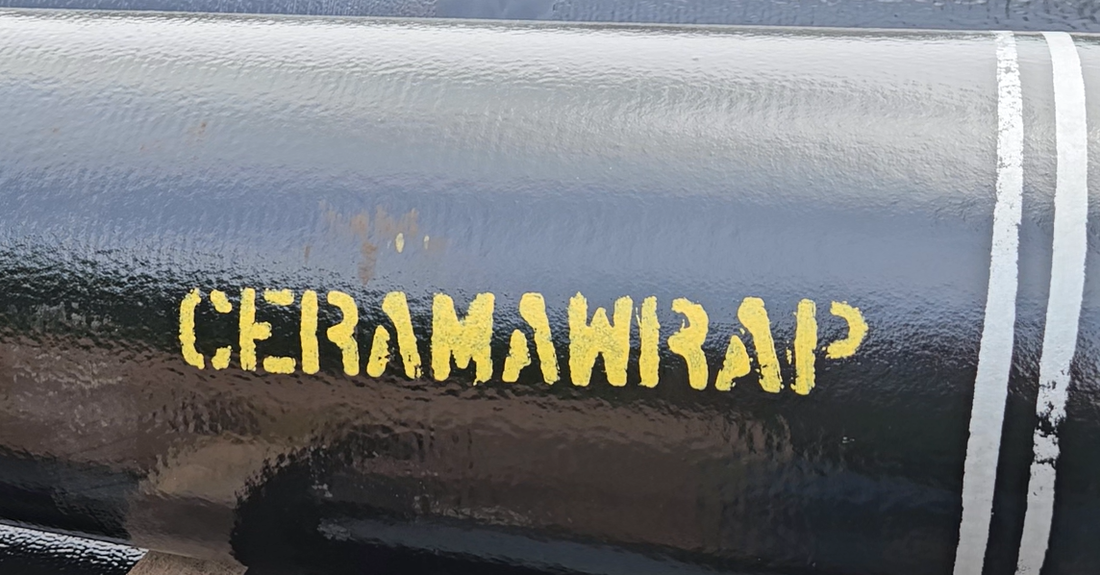
Sometimes, despite best handling practices, things happen — a small gouge or scrape in the Ceramawrap Ceramic Epoxy coating shows up on your Ductile iron pipe just before installation. No worries! A quick field repair can get that pipe back in action and ensure it’s fully protected once it’s buried.
A common misconception is that patching a ceramic epoxy in the field is difficult and must be completed by a certified applicator/coater. This couldn’t be further from the truth. Unlike alternate coatings, the Ceramawrap patching process is simple to accomplish in the field. The preparation, process, and results are user-friendly.
In this #IronStrong Blog, we’ll provide an easy, step-by-step guide to repairing Ceramawrap — without overcomplicating it. If there are any additional questions, McWane Ductile offers ample resources for further assistance, which will be explained in more detail at the end of this blog.
Want to get right to it? Check out the video below. Five minutes, and you’re a pro!
What’s in the Kit?
The Ceramawrap Repair Kit includes the following items:
Repair Kit Includes:
- Large Can
- Part A
- Part B
- Mixing Stick
- Paint Brush
- Sandpaper
- Instructions
We also recommend having the following tools:
- Gloves and Safety Glasses
- Cleaning Cloth
- Brush with Scraper
And don't forget to download the handy Tip Sheet below!
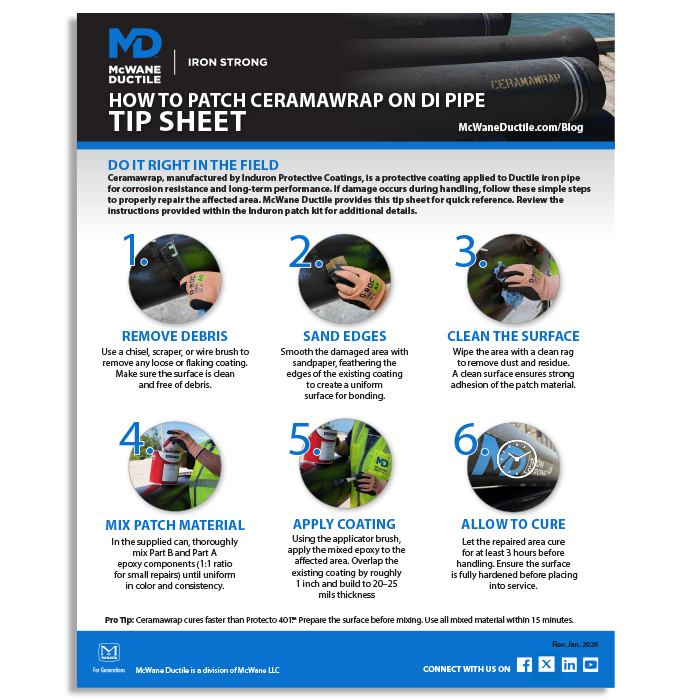
HOW TO PATCH CERAMAWRAP TIP SHEET
There may be a day you have to patch an area of Ceramawrap Epoxy Coating on DI pipe in the field. Do it the right way with our free Patching Ceramawrap tip sheet from McWane Ductile!
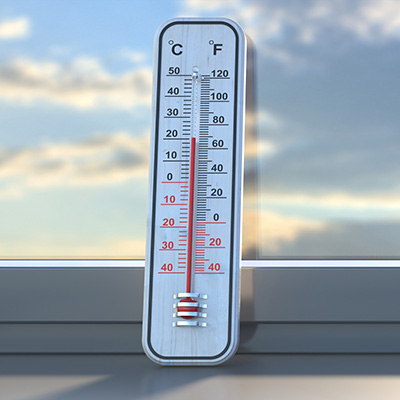
1. Check Your Conditions First
Before you get started, make sure the pipe’s surface temperature is above 55°F — and ideally, the epoxy material itself is at least 70°F. Cold material won’t mix or cure properly, so this one’s worth checking.
Also, make sure it is dry out — Ceramawrap shouldn’t be applied on wet or frozen surfaces.
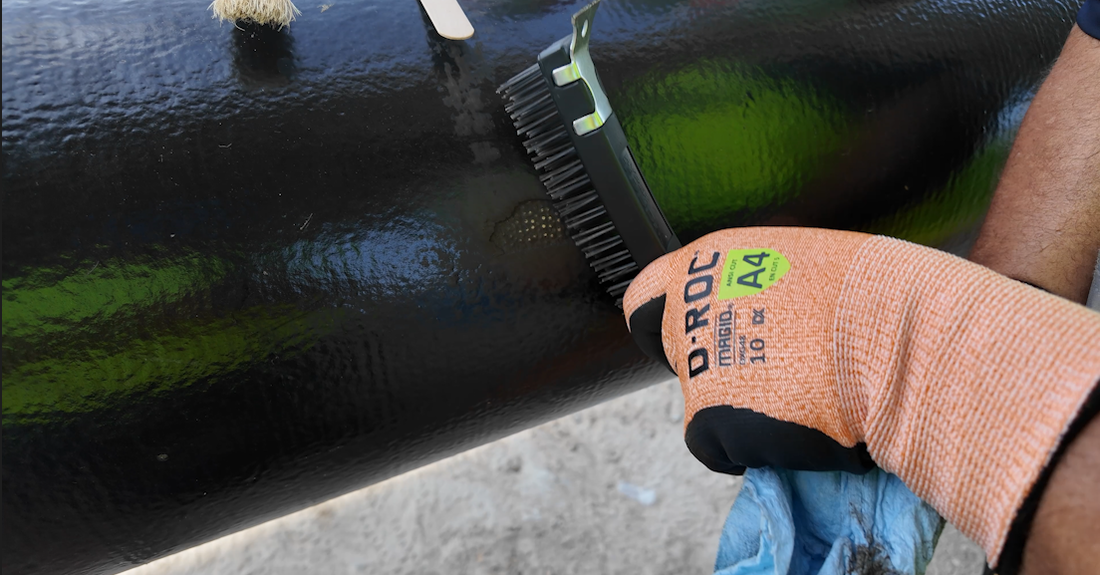
2A. Clean and Prep the Damaged Area
Start by inspecting the spot where the coating’s been damaged. If there are burs or jagged edges from handling, smooth them out so you’re working with an even surface.
Next, remove any dirt, oil, grease, or residue. If there’s loose or flaking coating, scrape or chisel it away until you’re down to solid, well-adhered coating and/or bare metal.
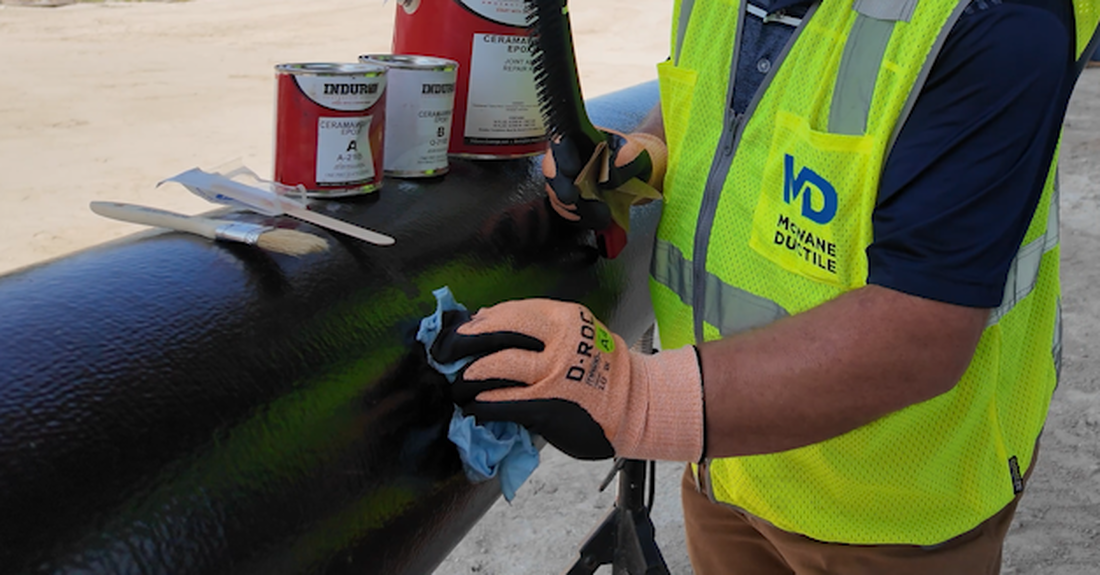
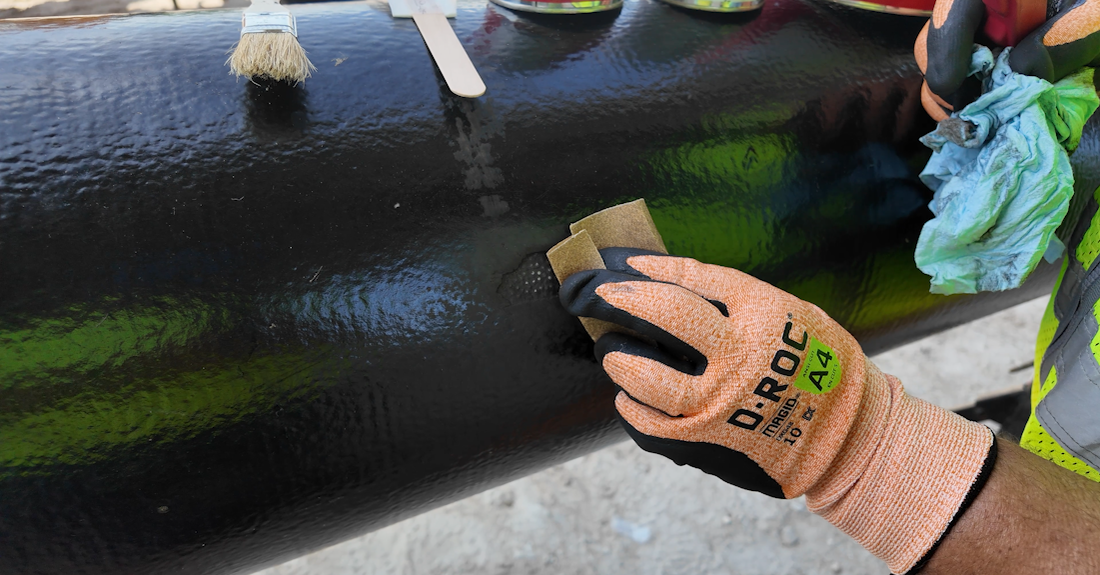
2B. Roughen the Surrounding Surface
Once that’s done, roughen the surface — sanding, scraping, or even power tool cleaning all work fine. You want to create a surface that the new epoxy can adhere to.
PRO TIP: When feathering the edges, overlap the repair at least 1 inch into the surrounding coating for a tight, lasting seal.
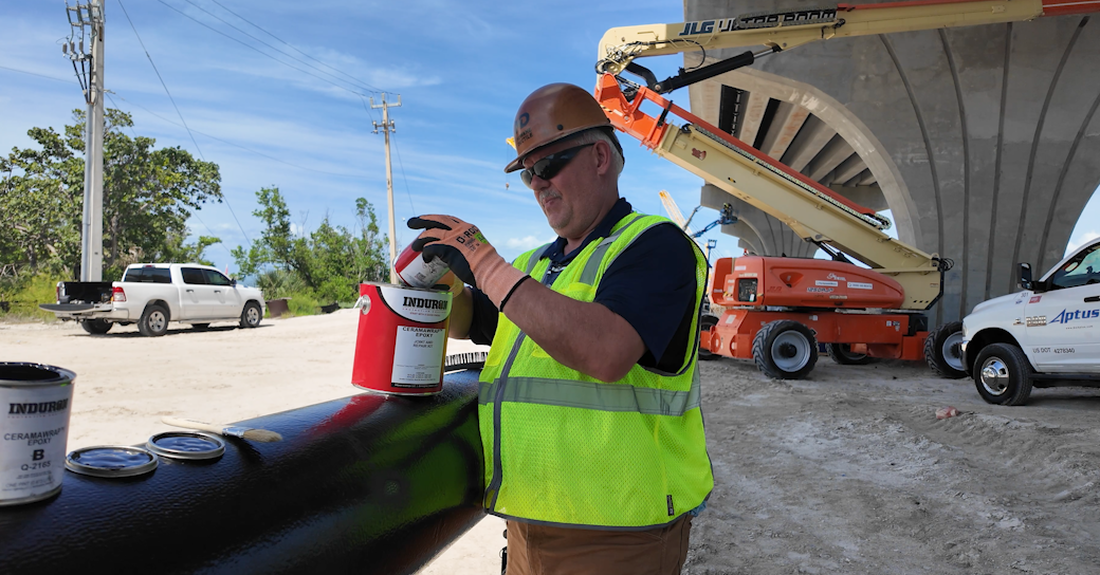
3. Mix It Right
Ceramawrap comes in two parts — Part A (Base) and Part B (Activator). Pour both into a clean mixing bucket and blend them thoroughly until you’ve got a uniform mix.
You’ll want to move fast here — once it’s mixed, you have about 15 minutes of working time before it starts to set.
If you’re mixing a smaller batch, use a 1:1 volume ratio (equal parts of A and B).
4. Apply the Epoxy
Now for the fun part — applying the Ceramawrap.
Grab a brush or roller and coat the prepared area evenly. You’re aiming for a dry film thickness of about 20–25 mils — enough to fully protect the exposed metal but not so thick that it sags.
Make sure to fully cover any bare metal and feather into the surrounding coating.
How do you measure 20-25 mils in the field, you ask? Ultrasonic sound measuring equipment is typically not available on a jobsite. Simply blend the new material to equal that of the existing material, so that the surface is flush and even, and you’re good to go.

5. Let It Cure
Once applied, Ceramawrap typically takes about three hours to handle at 80°F — longer if it’s cooler out. Keep the repaired area dry and avoid handling it until it’s firm to the touch.
If the temperature is dropping overnight, make sure it stays above 55°F for at least 2 hours after application so the coating can cure properly.
6. Final Check
After it’s cured, inspect your work. The repaired area should be smooth, well-blended, and fully covered — no exposed metal, no pinholes. Once everything looks good, you’re ready to get that pipe in the ground.
Quick Recap
- Keep materials and pipe surface warm and dry.
- Clean and roughen the damaged area.
- Mix Ceramawrap 1:1 and use within 15 minutes.
- Apply 20–25 mils thick, overlapping the old coating.
- Let cure at 55°F or higher for at least 2 hours.
Conclusion: Protection Goes a Long Way
A small amount of preparation and care ensures the full corrosion protection Ceramawrap is designed to deliver — helping your Ductile iron pipe system perform reliably for generations.
For additional guidance or technical support on Ceramawrap field repairs, contact your McWane Ductile Sales Representative or visit our McWane Ductile website for more #IronStrong blogs, product resources, tip sheets, and more.
